- AppFind - Complete Beginners Guides
- Posts
- iPhone to Android in 2024: Your Complete Switch Guide (Yes, It's Actually Easy!) 📱
iPhone to Android in 2024: Your Complete Switch Guide (Yes, It's Actually Easy!) 📱
Master Your New Galaxy Device in One Afternoon – From Data Transfer to Galaxy AI Features That'll Make You Wonder Why You Waited
Christine Emmanuelle Bago
April 28, 2026
In partnership with
Subject Line: iPhone to Android in 2024: Your Complete Switch Guide (Yes, It's Actually Easy!) 📱
Subtitle: Master Your New Galaxy Device in One Afternoon – From Data Transfer to Galaxy AI Features That'll Make You Wonder Why You Waited
Hey there, Android Newcomer!
Making the switch from iPhone to Android feels like a huge leap, doesn't it? Between transferring your data, learning new gestures, and figuring out where everything is, the whole process can seem overwhelming. We're breaking down the entire transition into simple, manageable steps – from that very first power-on to mastering Galaxy AI features that don't even exist on iPhone.
📺 WATCH THE COMPLETE VIDEO WALKTHROUGH
See every step in real-time! Watch the actual setup process, data transfer, and Galaxy AI features being demonstrated so you can follow along with your own device.
What You'll Master in This Guide:
Transferring all your data from iPhone to Android using Google's official app
Complete first-time setup of your Galaxy device (no tech experience needed)
Navigating with Android's three-button system vs. iPhone gestures
Using Circle to Search – an AI feature that lets you Google anything on your screen
Mastering Galaxy AI for photo editing, note-taking, and live translation
Customizing your home screen and lock screen exactly how you want
Before You Begin: The Data Transfer App
The biggest concern when switching? Losing your photos, contacts, and messages. Google solved this with the Switch to Android app available right in the iPhone App Store.
Downloading the Transfer App:
Step 1: Open the App Store on your iPhone Step 2: Search for "Switch to Android" Step 3: Download the official app by Google Step 4: Authorize with Face ID, Touch ID, or password Step 5: Open the app and accept terms of service
The app sits ready on your iPhone until you power on your new Android device for the first time.
🔍 Quick Tip: Download this app BEFORE you start setting up your Android device. It makes the transfer process seamless and automatic.
How Data Transfer Actually Works
When you set up your new Android device, it displays a QR code on the screen. Here's the brilliant part:
Step 1: Your Android shows a QR code during initial setup Step 2: Open the Switch to Android app on your iPhone Step 3: Tap "Copy Data" and grant camera access Step 4: Point your iPhone camera at the Android's QR code Step 5: Both devices connect and begin transferring automatically
The transfer includes photos, contacts, calendar events, messages, and more. The process runs wirelessly and takes anywhere from 10-45 minutes depending on how much data you have.
⚠️ Important: Keep both devices plugged in and near each other during transfer. Don't interrupt the process or your data transfer may fail partway through.
First Power-On: What to Expect
When you plug in and power on your Galaxy device for the first time, here's the sequence:
Samsung logo appears
"Powered by Android" loading screen
Welcome screen with language selection
Terms of service agreements
Connection setup options
The entire interface is designed to walk you through each step, so you won't get lost even if this is your first Android device.
Initial Setup: Step-by-Step
Choosing Your Language:
Step 1: Tap the language dropdown on the Welcome screen Step 2: Select your preferred language Step 3: Tap "Start" to begin setup
Agreeing to Terms:
You'll encounter Samsung's terms of service. Here's what's mandatory vs. optional:
Mandatory: Basic Samsung user agreement (required to use device)
Mandatory: Essential services agreement
Optional: Diagnostic data sharing (can be declined)
🔍 Quick Tip: You can tap "Agree to All" to speed through, or manually select only mandatory items if you're privacy-conscious.
Connecting to Wi-Fi:
Step 1: Select your Wi-Fi network from the list Step 2: Enter your password Step 3: Tap "Connect"
Your device needs internet access to complete setup and download updates.
Setting Up Without a SIM Card
Don't have your SIM card ready? No problem! You have several options:
Transfer SIM from another device
Scan carrier QR code for eSIM activation
Search for mobile plans directly on device
Set up later in Settings (recommended for first-time setup)
Choose "Set up later in Settings" to skip this step and add cellular service after you're familiar with your device.
Data Transfer Decision Point
During setup, you'll see "Copy apps and data" with these options:
Copy from iPhone or iPad (uses the Switch to Android app)
Copy from another Android device
Copy from cloud backup
Don't copy (set up as new device)
If you downloaded the Switch to Android app: Select the iPhone option and scan the QR code that appears on your Galaxy screen using your iPhone.
If you're setting up fresh: Choose "Don't copy" and you can manually transfer specific items later.
▶️ Try This Now: If you have important data on your iPhone, pause setup here, ensure the Switch to Android app is ready, then proceed with the QR code transfer method.
Google Account Setup
You'll be prompted to sign in with your Google account. This is optional during initial setup, but highly recommended because it enables:
Google Play Store app downloads
Automatic cloud backup of photos and data
Gmail, Calendar, and Contacts syncing
Find My Device location tracking
Step 1: Tap "Next" when prompted for Google account Step 2: Enter your Gmail address and password Step 3: Accept Google Services terms Step 4: Configure location, diagnostic data, and app update preferences
⚠️ Skipping Note: You can skip Google account setup, but you won't be able to download apps from the Play Store until you add one later in Settings.
Security Setup: Face Recognition and Fingerprint
Android offers multiple security options. Here's how to set up the most convenient ones:
Face Recognition Setup:
Step 1: Tap "Face Recognition" from security options Step 2: Set a backup PIN (6 digits recommended) Step 3: Re-enter PIN to confirm Step 4: Remove glasses if wearing them Step 5: Position your face in the frame and wait for recognition Step 6: Customize settings: • Stay on lock screen until swipe (prevents accidental unlocking) • Require open eyes (security enhancement) • Brighten screen (for dark environments)
Fingerprint Setup:
Step 1: After face recognition, tap "Register fingerprints" Step 2: Press your finger on the on-screen fingerprint sensor Step 3: Lift when the circle highlights Step 4: Repeat pressing and lifting until you reach 100% Step 5: The sensor position moves around to capture all angles
🔍 Quick Tip: The fingerprint sensor is built into the display itself, not a physical button. Press firmly on the indicated circle each time it appears.
Additional Fingerprint Settings:
Fingerprint always-on (shows icon when screen is off)
Show animation when unlocking
Add multiple fingers for convenience
Samsung Account Setup
After Google account, you'll be prompted for a Samsung account. This is optional but beneficial for:
Samsung Find (locate lost devices)
Biometric sign-in for apps and websites
Samsung Health fitness tracking
Cross-device sync (phone, tablet, computer)
Cloud backup specific to Samsung
You can choose "Set up later in Settings" if you don't have your Samsung credentials handy, or create a new account directly during setup.
Display Mode Selection
One of the final setup steps asks you to choose between:
Light Mode: White backgrounds, dark text
Dark Mode: Black backgrounds, light text (saves battery on OLED screens)
Many Android switchers prefer Dark Mode because it's easier on the eyes and extends battery life on Galaxy devices.
▶️ Try This Now: Select Dark Mode and see how it transforms the entire interface. You can always change this later in Settings > Display.
Unlike iPhone's gesture-based navigation, Android (by default) uses three buttons at the bottom of the screen:
Left Button (Three Lines):
Tap to open app switcher
See all recently opened apps
Swipe left/right to switch between apps
Swipe up to close apps
Center Button (Circle):
Tap to return home from any app
Press and hold to activate Circle to Search (Galaxy AI feature)
Right Button (Arrow):
Tap to go back one step
Works in apps, browsers, and settings
Replaces iPhone's swipe-from-edge gesture
🔍 Quick Tip: These three buttons become second nature within a few days. The back button alone will become your most-used control for navigating Android.
Essential First Steps After Setup
Once setup completes and you see your home screen, do these three things immediately:
1. Update All Apps:
Step 1: Open the Play Store app Step 2: Tap your profile icon (top right) Step 3: Select "Manage apps & device" Step 4: Tap "Updates available" Step 5: Select "Update All"
This ensures you have the latest features, security patches, and bug fixes.
2. Add Your Accounts:
Step 1: Swipe down from top right Step 2: Tap the gear icon (Settings) Step 3: Scroll to "Accounts and backup" Step 4: Tap "Manage accounts" Step 5: Add your Google and Samsung accounts if skipped during setup
3. Explore the App Drawer:
Step 1: Swipe up from the bottom of the home screen Step 2: See all installed apps organized alphabetically Step 3: Swipe left/right to browse Step 4: Tap any app to open it
Circle to Search: Your New Superpower
This is one of Galaxy AI's most impressive features – the ability to Google anything on your screen without leaving your current app.
How to Activate:
Step 1: While viewing any content, press and hold the center home button Step 2: Circle to Search interface appears Step 3: Circle, highlight, or tap anything on screen Step 4: Instant Google results appear
Where It Works:
Web browsers (identify products, search text)
Photo gallery (find similar images, identify objects)
Social media (look up locations, products, people)
News apps (research topics mentioned in articles)
Even your home screen (search app icons)
▶️ Try This Now: Open any photo in your gallery, press and hold the home button, circle an object in the photo, and watch Google identify it instantly!
Real-World Examples:
See a cool camera in a photo? Circle it to find where to buy it
Reading about a place? Circle the name to see location and photos
Confused by a term? Highlight it for instant definition
Want that jacket someone's wearing? Circle it to find similar items
🔍 Quick Tip: Circle to Search works even in locked screenshots and downloaded images – it's not just for live web content.
Google Assistant: Voice Control Done Right
Unlike Siri, Google Assistant activates differently on Android:
Activation Methods:
Say "Hey Google" (voice activation)
Swipe up from bottom left or right corner
Previously you held the home button, but now that's Circle to Search
Initial Setup:
Step 1: Swipe up from bottom corner Step 2: Tap "Turn on" when prompted Step 3: Agree to Voice Match Step 4: Train Assistant to recognize your voice Step 5: Enable lock screen access (optional but convenient)
Useful Commands to Try:
"What's the weather in [city]?"
"Set an alarm for 7 AM tomorrow"
"Navigate to [address]"
"Play [song/artist] on Spotify"
"Turn off all my alarms"
"What's the latest news?"
Typing to Assistant:
If you're in a quiet environment, tap the keyboard icon in Assistant to type commands instead of speaking them.
Live Translate: Break Language Barriers
Galaxy devices can translate phone calls in real-time using AI. Here's how to enable this incredible feature:
Step 1: Open the Phone app Step 2: Tap three dots (top right) Step 3: Select "Settings" Step 4: Tap "Live Translate" Step 5: Toggle on Step 6: Accept Advanced Intelligence terms Step 7: Select your language Step 8: Download language packs for people you'll talk to
Available Languages:
English (US, UK, India)
Spanish, French, German
Chinese, Japanese, Korean
Hindi, Italian, Portuguese
Polish, Thai, Vietnamese
How It Works:
When you're on a call, your phone listens to both sides of the conversation. It displays translated text on screen and can even speak the translation aloud. The other person hears you in their language, and you hear them in yours.
⚠️ Privacy Note: Live Translate processes audio on-device using AI. Conversations aren't sent to servers, but make sure the other party knows translation is active.
Samsung Notes with Galaxy AI
Samsung Notes transforms from a simple note app into an AI-powered writing assistant:
AI Features Include:
Auto-formatting (turns messy text into structured content)
Grammar and spelling correction
Text summarization
Translation to multiple languages
Writing style transformation
Auto-generated note covers
Using AI in Notes:
Step 1: Open Samsung Notes app Step 2: Create new note or open existing one Step 3: Write some text (minimum 200 characters for most features) Step 4: Select the text you want to improve Step 5: Tap the three-star Galaxy AI button Step 6: Choose your action:
Spelling & Grammar: Catches errors and suggests corrections you can insert with one tap
Writing Style: Transform your text into:
Professional (formal business tone)
Casual (friendly conversation)
Social (engaging with emojis)
Polite (respectful and courteous)
Emojify (adds relevant emojis throughout)
Translate: Convert to Spanish, French, German, Chinese, and more
▶️ Try This Now: Write "meeting today 3pm discuss project timeline budget review" in Samsung Notes, select it, tap Galaxy AI, choose "Auto Format," and watch it transform into a properly structured sentence!
Photo Editing with Generative AI
Galaxy AI includes powerful photo editing tools that can remove objects, move subjects, and fill in backgrounds using artificial intelligence.
Enabling Generative Edit:
Step 1: Open Settings Step 2: Scroll to "Advanced features" Step 3: Tap "Advanced intelligence" Step 4: Select "Photo editor" Step 5: Toggle on "Generative edit"
Using AI Photo Editing:
Step 1: Open Gallery app Step 2: Select any photo Step 3: Tap the edit button (pencil icon at bottom) Step 4: Tap the three-star Galaxy AI button Step 5: Circle, draw, or tap to select objects Step 6: Choose your action:
Move Objects: Touch and hold selected object, drag to new position, tap "Generate" to fill empty space
Delete Objects: Select unwanted item, tap delete button, AI fills the gap seamlessly
Resize Objects: Adjust size handles after selection, generate new background
⚠️ AI Watermark: All AI-edited photos include a small "Samsung AI" watermark in the corner to indicate modification. This ensures transparency about edited content.
Real-World Examples:
Remove unwanted people from vacation photos
Delete trash cans or power lines from landscapes
Move your subject to better composition
Eliminate photo bombers from group shots
🔍 Quick Tip: The AI works best on simple backgrounds. Complex patterns or detailed textures may look artificial after editing. Always compare original vs. edited before saving.
Customizing Your Lock Screen
Make your Galaxy device truly yours by personalizing the lock screen:
Step 1: Press side button to lock device Step 2: Unlock with face or fingerprint Step 3: Press and hold on lock screen Step 4: Customize these elements:
Shortcut Buttons:
Left button (default: Phone)
Right button (default: Camera)
Tap either to change to Calculator, Flashlight, or other apps
Wallpaper:
Select from featured options
Choose from your Gallery photos
Apply effects and frames
Widgets:
Battery percentage indicator
Weather forecast
Calendar events
Music controls
Contact Information: Add text that displays if phone is lost (name, alternate number)
Step 5: Tap "Done" when finished to save changes
Customizing Your Home Screen
Android offers significantly more home screen customization than iPhone:
Adding Widgets:
Step 1: Press and hold on empty home screen area Step 2: Tap "Widgets" at bottom Step 3: Browse by app (Camera, Calendar, Weather, etc.) Step 4: Press and hold widget to place it Step 5: Drag to desired screen position Step 6: Release to place, adjust size if needed
Changing Wallpaper:
Step 1: Press and hold home screen Step 2: Tap "Wallpaper and style" Step 3: Select wallpaper type: • Featured (curated designs) • Gallery (your photos) • Interactive (animated backgrounds)
Adding Home Screen Pages:
Step 1: Press and hold home screen Step 2: Swipe left to last page Step 3: Tap "+" to add new blank page Step 4: Add apps and widgets to new page
Left Swipe Options:
Choose what appears when you swipe left from home:
Google Discover: Personalized news feed
Samsung Free: Samsung's curated news and content
🔍 Quick Tip: Create dedicated home screen pages for different contexts – one for work apps, one for entertainment, one for fitness and health.
App Drawer vs. Home Screen
This confuses many iPhone switchers. Android separates installed apps from home screen shortcuts:
App Drawer (All Apps):
Swipe up from home screen to access
Shows EVERY installed app alphabetically
Search bar at top for quick finding
Apps automatically appear here when installed
Home Screen:
Only shows apps you manually add
Customizable layout and organization
Can have multiple pages
Doesn't include every installed app
To Add Apps to Home Screen:
Step 1: Swipe up to open app drawer Step 2: Press and hold desired app icon Step 3: Drag to home screen Step 4: Release to place
This system keeps your home screen clean while ensuring all apps remain accessible via the app drawer.
Settings App: Your Control Center
The Settings app is where you'll configure everything. Here are the most important sections:
Quick Access: Swipe down from top right, tap gear icon
Essential Categories:
Connections: Wi-Fi, Bluetooth, Mobile networks
Display: Brightness, dark mode, screen timeout
Advanced features: Galaxy AI settings, gestures
Accounts and backup: Add/remove accounts, backup data
Security and privacy: Biometrics, permissions, privacy controls
About phone: Software updates, device information
▶️ Try This Now: Open Settings, tap "About phone," tap "Software update," tap "Download and install" to check for the latest Android updates.
Speak naturally. Send without fixing.
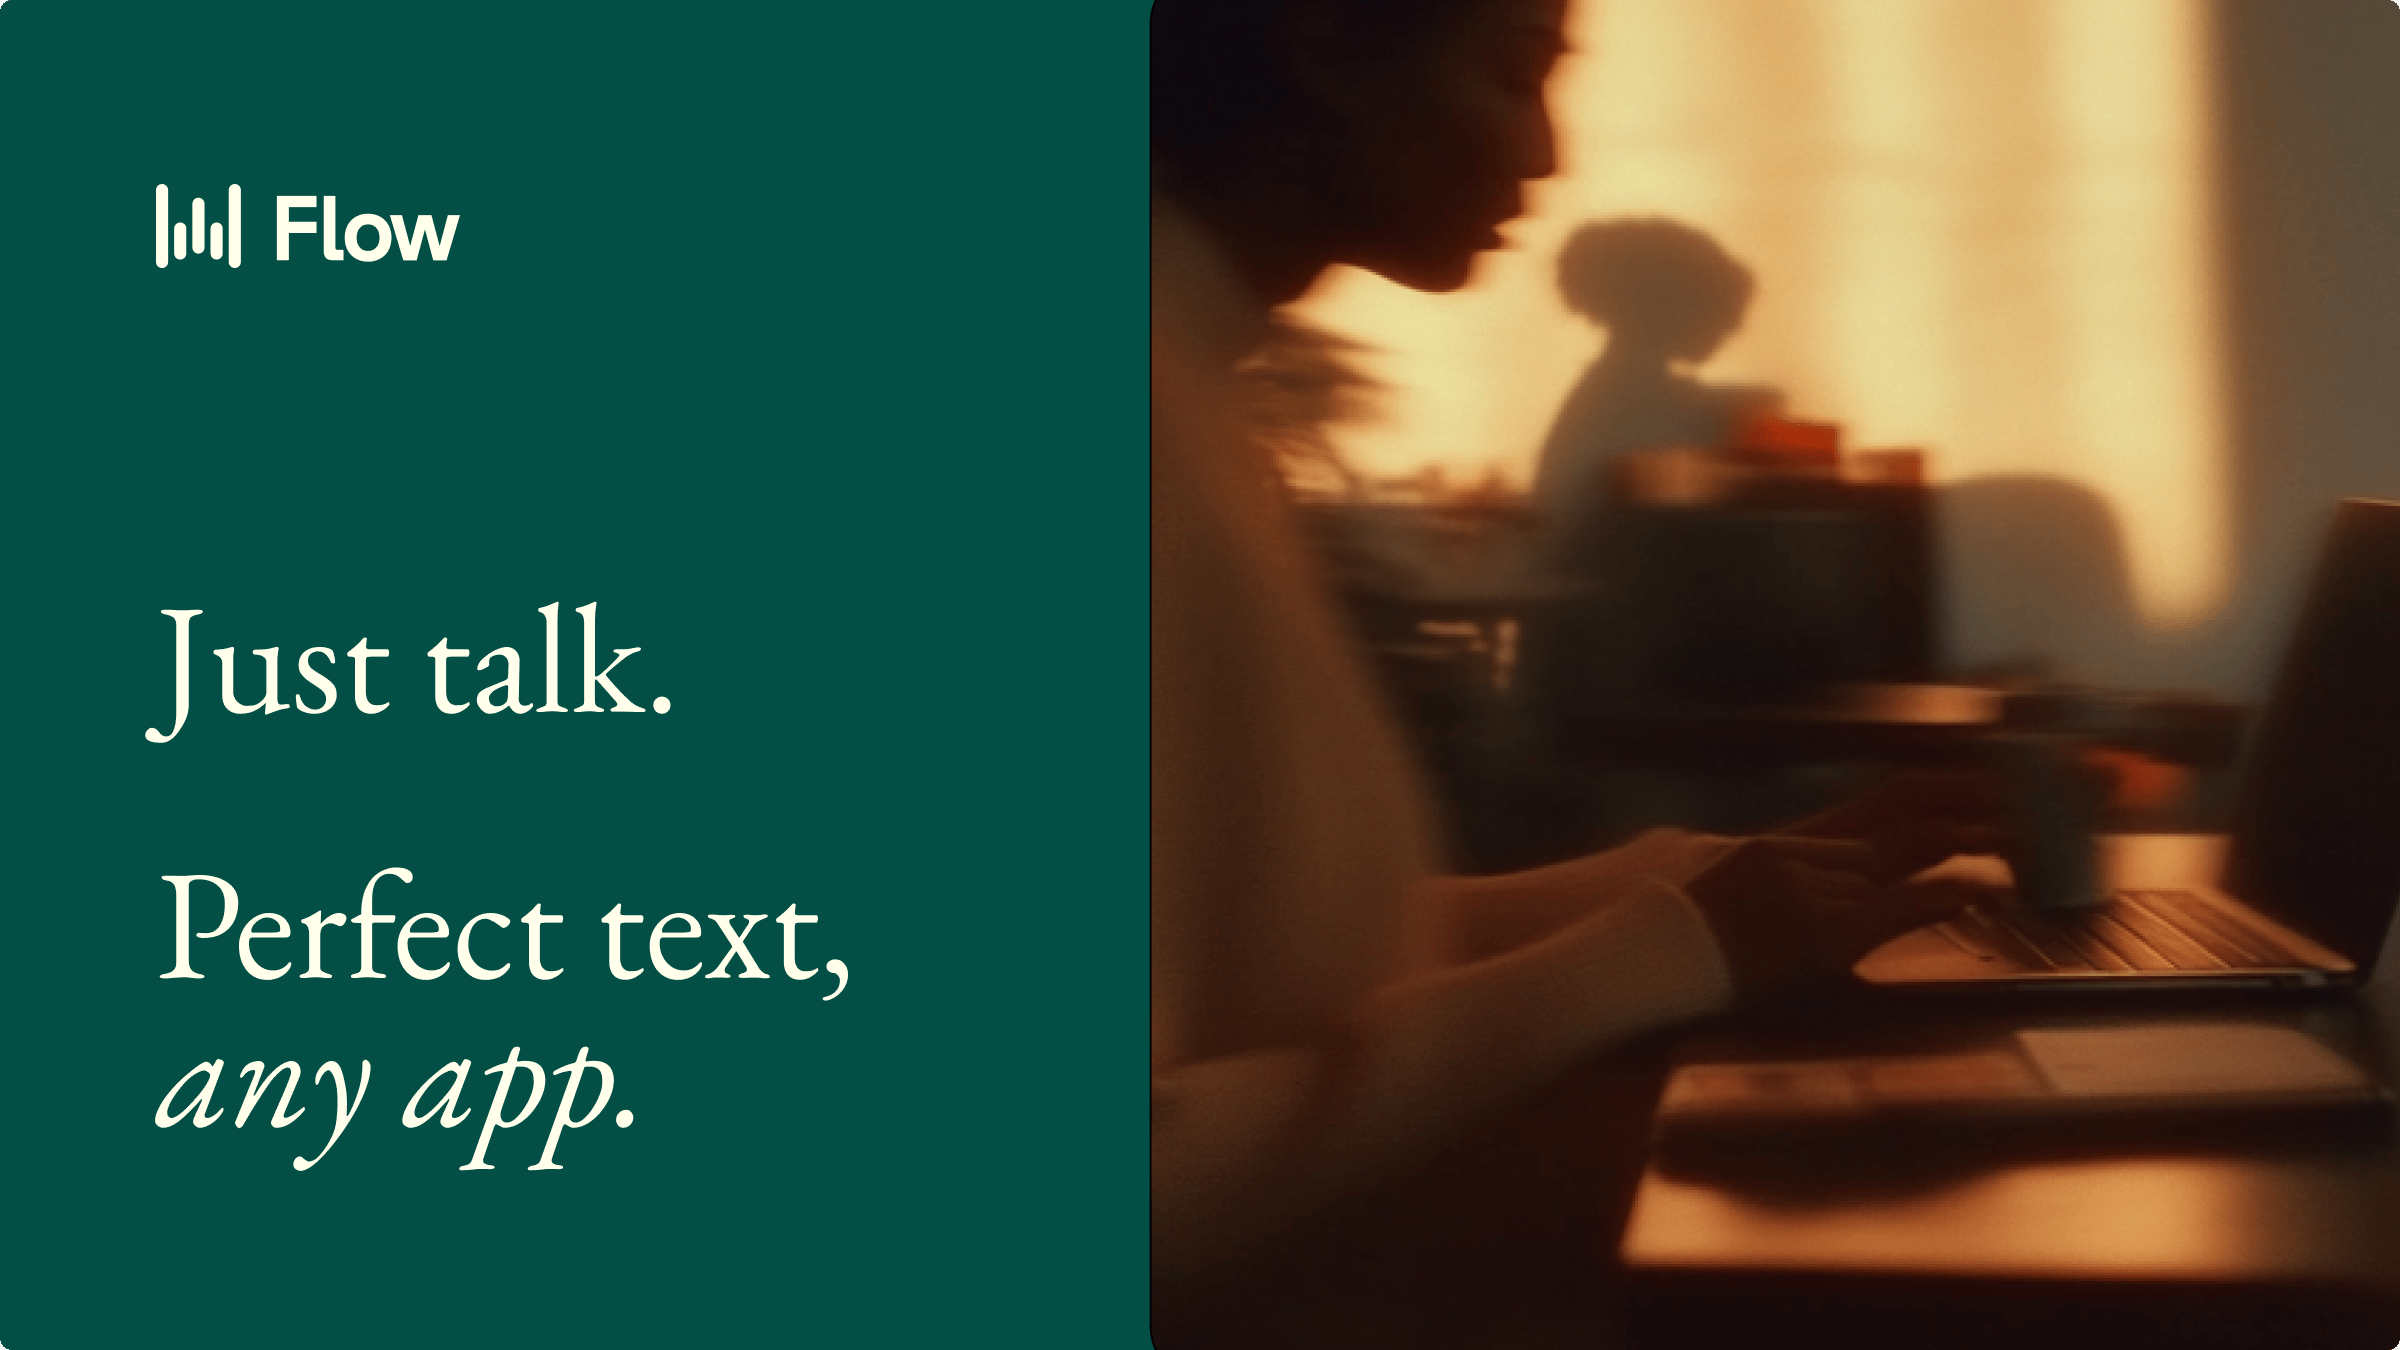
Wispr Flow turns your voice into clean, professional text you can send the moment you stop talking. Not rough transcription you have to clean up. Actual polished text — ready for email, Slack, or any app.
Speak the way you think. Go on tangents. Change your mind mid-sentence. Flow strips the filler, fixes the grammar, and gives you text that reads like you spent five minutes writing it.
89% of messages sent with zero edits. Millions of professionals use Flow daily, including teams at OpenAI, Vercel, and Clay. Works on Mac, Windows, and iPhone.
Top 3 Takeaways
1. Circle to Search Changes Everything This Galaxy AI feature alone is worth the switch. Being able to Google anything on your screen without switching apps or typing searches saves countless hours and makes your phone genuinely smarter. Use it dozens of times daily and you'll wonder how you lived without it.
2. Customization Freedom is Real Unlike iPhone's rigid home screen, Android lets you build exactly the interface you want. Different wallpapers for lock and home screens, widgets that actually do things, multiple home screen pages organized by context – your phone becomes uniquely yours within hours.
3. The Three-Button Navigation is Actually Better It feels weird at first, but the dedicated back button alone is worth the adjustment period. No more reaching to the far left edge of the screen or wondering which gesture goes back vs. closes the app. Within three days, it becomes muscle memory.
Common Questions & Troubleshooting
Q: I started setup but want to transfer my iPhone data. Can I go back? A: Yes! If you've already completed setup without transferring data, you can factory reset your Galaxy device. Go to Settings > General management > Reset > Factory data reset. This lets you start fresh and use the Switch to Android app during the setup process.
Q: The Switch to Android app on my iPhone won't scan the QR code. What's wrong? A: Make sure you've granted camera permissions to the Switch to Android app. Open iPhone Settings > Privacy > Camera and ensure "Switch to Android" is toggled on. Also verify both devices are connected to the same Wi-Fi network.
Q: How do I access the app I just downloaded? It's not on my home screen. A: All apps automatically go to the app drawer, not the home screen. Swipe up from the bottom to see all your apps. To add an app to your home screen, press and hold its icon in the app drawer and drag it to your home screen.
Q: Circle to Search isn't working when I hold the home button. A: Ensure you're pressing and holding the center circle button, not the left or right buttons. If it still doesn't activate, go to Settings > Advanced features > Advanced intelligence and verify Circle to Search is enabled.
Q: My fingerprint sensor isn't working. Where is it? A: Unlike older phones, the Galaxy fingerprint sensor is built INTO the display. When your screen is off, look for a small fingerprint icon that appears near the bottom center. Press firmly on that spot – there's no physical button to press.
Q: Can I make my Android navigation work like iPhone gestures? A: Yes! Go to Settings > Display > Navigation bar > Swipe gestures. This replaces the three buttons with iPhone-style swipe navigation. However, we recommend trying the buttons for at least a week – many switchers prefer them.
Q: Why do some apps ask for so many permissions? A: Android shows explicit permission requests that iOS handles silently. You have granular control – allow only while using the app, deny, or allow all the time. Apps explain why they need each permission before requesting it.
Q: The AI photo editing added a watermark. Can I remove it? A: The "Samsung AI" watermark is permanent on AI-edited photos to maintain transparency about modified content. This is an industry-wide practice. Keep the original photo if you need a version without the watermark.
Q: I miss iMessage. What's the Android equivalent? A: Android uses SMS/MMS for cross-platform messaging and Google Messages for Android-to-Android enhanced features (reactions, typing indicators, high-res photos). Most Android users supplement with WhatsApp, Signal, or Telegram for better group chats.
Q: How do I get my photos from iCloud to Google Photos? A: Download the Google Photos app, sign in with your Google account, and enable backup. For iCloud photos, visit icloud.com on a computer, download your photos, and upload them to photos.google.com. Alternatively, Google's "Switch to Android" app can transfer photos during initial setup.
Q: Can I use my AirPods with my Galaxy phone? A: Yes! AirPods work as standard Bluetooth headphones with Android. You'll lose some Apple-specific features (automatic device switching, Siri), but core audio functions work perfectly. Go to Settings > Connections > Bluetooth and pair them like any Bluetooth device.
Q: My battery drains faster than expected. Is this normal? A: The first 2-3 days after setup, battery life may be worse as the phone downloads updates, indexes apps, and learns your usage patterns. After this break-in period, battery life should stabilize. Also check Settings > Battery to identify apps consuming excessive power.
Ready to Master Your Android Switch?
This guide covered the essentials, but there's so much more to discover! Watch our complete video tutorial to see the entire setup process in action, watch Circle to Search being demonstrated, and follow along with real-time AI photo editing.
See the iPhone-to-Android data transfer happen in real-time, watch every setup screen appear, and follow along as we demonstrate Circle to Search, Galaxy AI, and home screen customization!
What feature are you most excited to try on your new Android device? Reply to this email and share your switching experience! We love hearing from readers making the transition.
Thinking about other Samsung accessories? Check out our complete Galaxy Watch setup guide and Galaxy Buds pairing tutorial to build your complete Android ecosystem.
Welcome to the Android family!
The AppFind Team
P.S. Give Circle to Search three days of regular use. It'll become your most-used feature – we guarantee it. Press and hold that home button every time you see something interesting on your screen!
Subscribe to AppFind for Android tips, Galaxy AI tutorials, and beginner-friendly tech guides delivered to your inbox every week. No jargon, no assumptions – just practical help for real people.